While browsing the web for new spring or any other craft ideas I found instructions for how to make some cool little 'Tumblebugs'.
I thought it was a great idea, one for the boys. So yesterday here is what we did.
What you need:
Coloured cardboard
pencil
scissors
ruler
2 x 10c coins
marble (1 per bug)
craft glue (I broke out the hot glue gun for fast drying)
glue stick
tissue paper
markers
What to do:
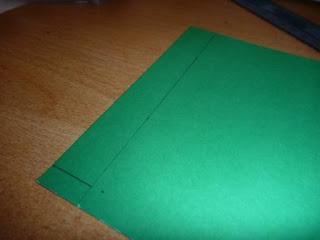
1. On the edge of the card draw a strip that is 2cm wide and 14cm long.
2. On the card draw two ovals. Lining the two 10c coins up side by side is a great way to make an oval. You just trace around the curve at each end and then join them up.
3. Cut out the strip and ovals.
4. Glue the strip to make a loop by overlapping the ends by about 2.5cm.
5. Apply craft glue to the edge of the cardboard loop and glue it onto one of the traced ovals.
6. When the glue is dry put a marble in the oval container you have created.
7. Apply glue to the other edge of the cardboard strip loop and glue the remaining traced oval on to it.
8. Allow to dry and then decorate with a marker using tissue paper to create wings.
9. 'Tumblebug' away.
Both Miss Yr4 and Mr Yr1 liked making their 'Tumblebugs' tumble. Mr Yr1 set a ramp which was great for tumbling.
I may have made a few myself. They are just too cute and just a lot of fun.


How cool are they - thanks for sharing.
ReplyDeleteThey do look fun to make and play with
ReplyDelete